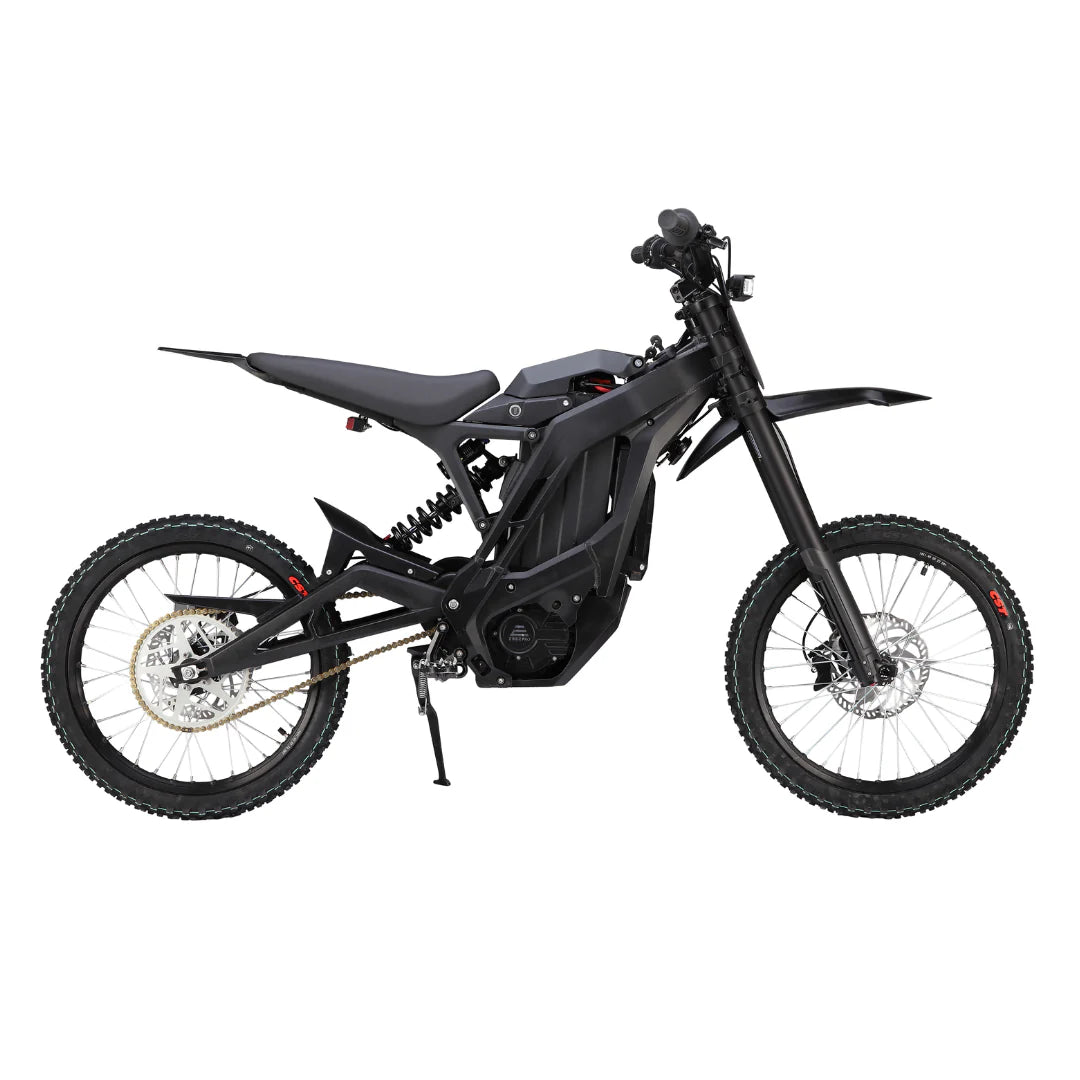
E Ride Pro SS 2.0 - Getting Started
Share
How to set up your E Ride Pro SS:
Download the full E Ride Pro SS User Manual
Install the Handlebars:
1. Use a #4 hexagon wrench to loosen and remove the 4 cover stem cap bolts.
2. Attach the left and right front brake lever assemblies and throttle assembly to the handlebars as shown in the illustration below.
⚠Don't tighten yet.
3. Install the handlebars, fix the vertical cover, and adjust the angle and position of the handlebars according to personal riding style.

4. Tighten the 4 bolts, and the torque values to 6~8N.m

Install the Front Instrument Display:
1. After installing the instrument display, recenter the throttle grip with 2mm of end play to ensure proper throttle function.

⚠ If 2mm is not achieved, the throttle rotation will become stuck and could cause serious injury.
2. The front brake levers needs to be tilted forward about 35°.
3. Lock the grip assembly and front brake lever with a #4 and #5 hexagon wrench. Rotate the throttle assembly to ensure freedom and natural movement.

Attach and Secure Cables as Shown:
1. Use the supplied zip-tie to secure the cables as shown in picture below. Trim the end of the zip-tie when satisfied that all cables are secured.
WARNING:
1. Secure brake line and cable with tie wrap to the appropriate location.
2. After the cables are securely placed, test the rotation back and forth with the handlebars to ensure that all the wiring harnesses are relaxed without pulling and tightening.
3. Avoid wrapping all cables together to avoid binding and unwanted cable pulling. Pay special attention to the front headlight wiring while considering freedom of all cables.
Install Front Wheel:
1. Release the 4 front wheel axle lock bolts at the lower end of the front fork with a # 4 inner hexagon wrench.
2. Remove the locking nut on one side of the front wheel through axle with a # 8 inner hexagon wrench. Tap gently with a rubber hammer and remove the front wheel axle.
3. Install the front wheel through axle bushings on both sides of the wheel hub. Slowly rotate the bushings. Completely insert the bushings and securely seat inside the hub assembly. Check freedom of bushing rotation before installing.
4. Remove the front brake caliper and place the front wheel onto the mounting locations.
⚠Caution: Make sure you remove the plastic brake pad insert (shown with red arrow) before installing the front wheel.
5. Install the front wheel axle through the hub so that it passes completely through until completely seated.
⚠ Do not use the front brake before the front wheels are installed.
6. Tighten the left locking nut while securing the right side through axle with a #8 hexagon wrench.
⚠ Note: After the through axle and nut are securely tightened, the final step is to tighten the four locking bolts with a #4 hexagon wrench on the axle caps.
7. After front wheel assembly is complete, go back and double check that all fasteners are securely tightened and safe for use.

Install Front Fender:
Remove the 3 bolts shown in the figure below. Install the front fender and lock the bolts with a # 4 inner hexagon wrench to ensure that the front fender is fastened without loosening.

Rear Shock Absorber Installation Diagram:

Begin by unscrewing the bolts from the rear shock as shown in pictures 1 and 2. Lift the bike and insert the rear shock absorber into the installation port, referring to pictures 3 and 4. Finally, secure the shock in place by attaching and tightening the screws onto the swingarm, as illustrated in picture 5.
Cable Routing

